In this article I just want to quickly explain to you how easy it was to setup a fine particulates sensor with a raspberry pi. At the end of the article I am showing you quickly my test setup for the autonomous system, which is currently not yet working as expected (24/7 usage).
IMPORTANT / Disclaimer: I am using affiliate links from Amazon & Aliexpress in this post. This means I am getting a small comission if you order any of the products after clicking on a link. The price for you will not change. Thank you.
SETUP
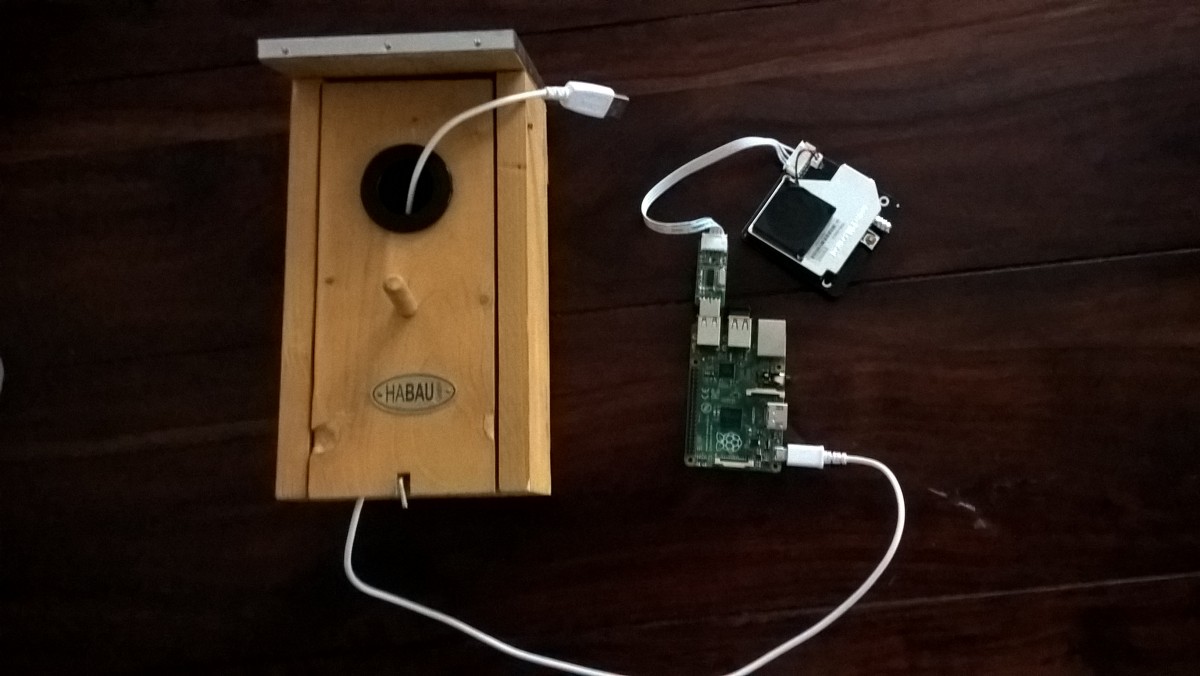
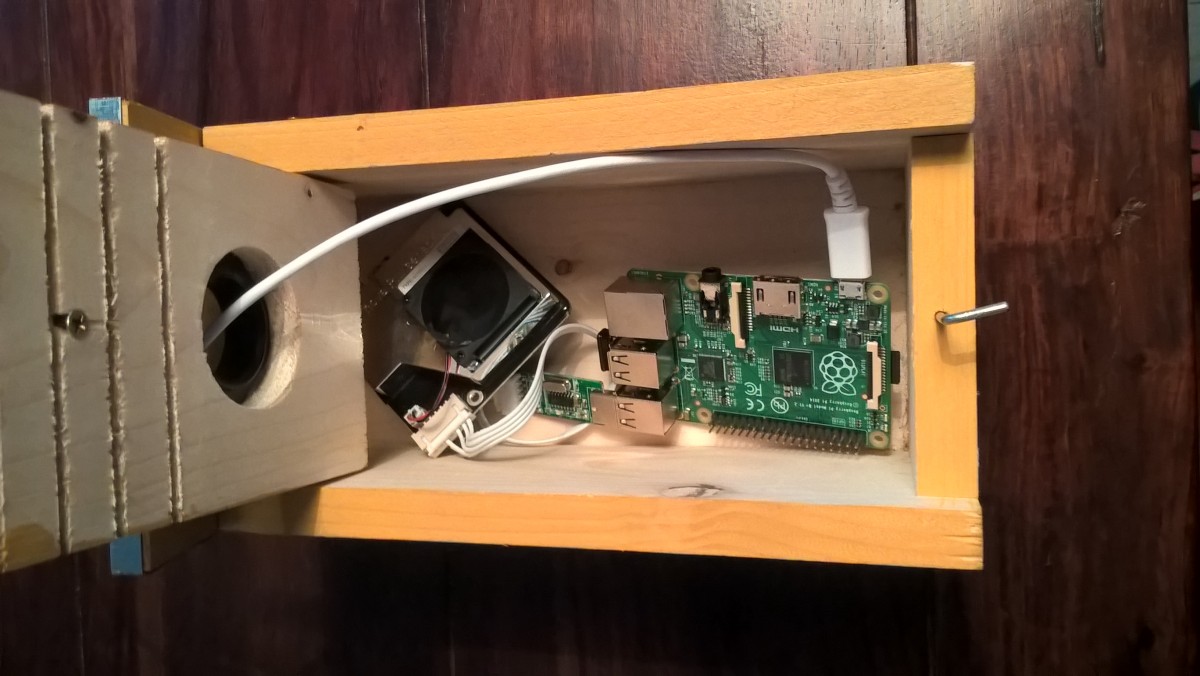
What do you need for this project:
- Raspberry Pi Set US / UK / DE
- PM2,5 / PM10 Sensor (Nova pm sensor sds011) – This is the sensor for the fine particulates / It can take a few weeks to arrive from China.
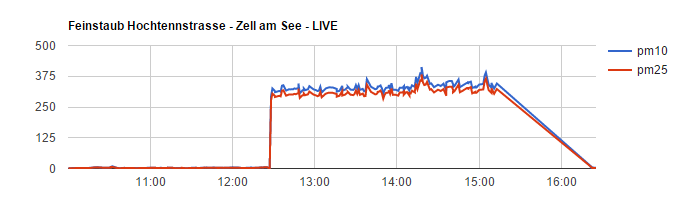
Here is a link to a 30 day graph, which is created from the data and processed via Google Charts. Be patient it takes some time to load! – So you get a quick idea what we are aiming for. 🙂 There is some data missing as I have been turning it on and off for testing.
PROGRAMMING
For the programming part I took the whole code from this Website. The main article is in German but there is also an English version. In the English version the script is missing though, and the setup how the data is processed to Sparkfun is also not mentioned. I am linking here both article again:
German Article
English Article
Have a look yourself, I am pretty sure you will understand the steps. I am listing here as a quick reference some of the steps again, this is not the full instruction though. Please check out the links to the site above for further instructions.
- stty command for the sensor (setup)
- od command to cut off output of data
- apt-get -fym install bc wget (to install programs)
- copy the full script which you find on the above linked site and create a bash script
- have a look at the script for the location of the data etc. (WDIR)
- This is a step which is not listed in the instructions, you have to make the bash script executable!
- Setting up acount at data.sparkfun.com, have a look at the script and add following line according to your sparkfun setup at the end of the bash script, you have to replace the URL according to your created one: wget „http://data.sparkfun.com/input/RM736ga3vxHqMZ1qnMn2?private_key=lzaG5qwG9EIRVdGRvxvx&pm10=$PPM10&pm25=$PPM25“ &
- add a cron job, so the sensor takes automatically like every minute a measurement
DATA – GRAPHICAL OUTPUT
For this website I am converting the data from data.sparkfun.com via Google Charts back to the site. I have added then the html code into a widget (WordPress) or setup a simple HTML file to have it displayed. This is fairly easy to do. Here you can find some great instructions about this process.
My Live Feed from Sparkfun (non Graphical) – Updated every Minute
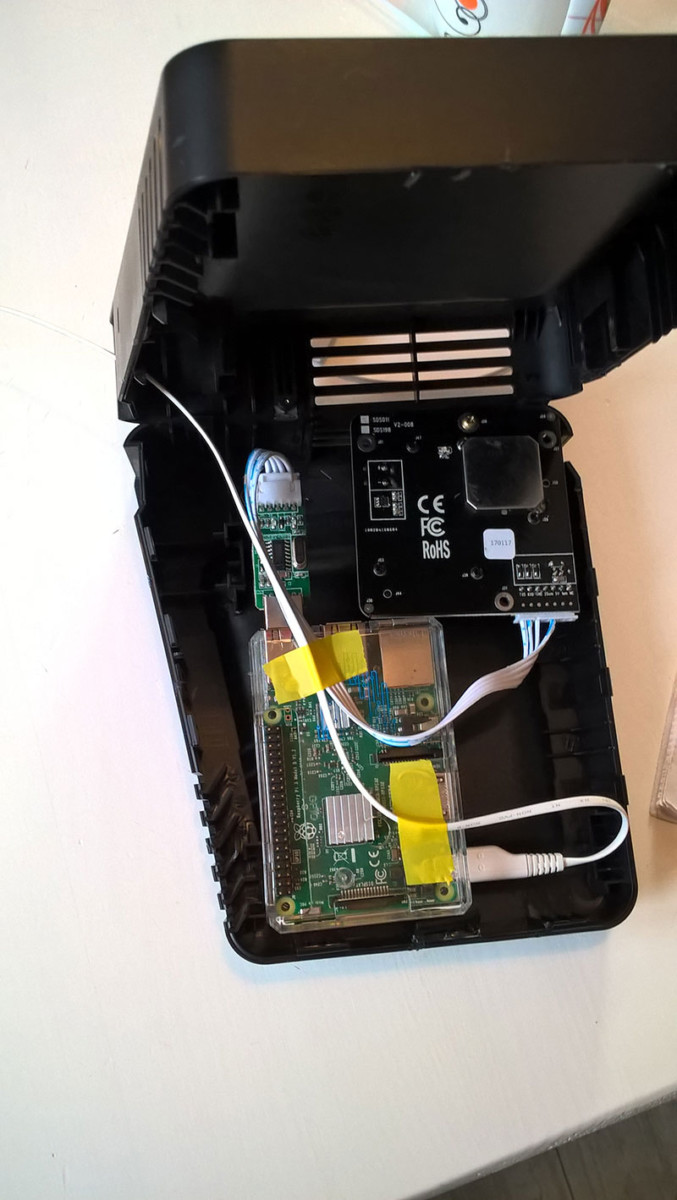
AUTONOMOUS SYSTEM (in Progress)
The final part, which I am working on right now is to create an autonomous & mobile working system powered with photovoltaic. I tested quite a lot of powerbanks the last few months, with low temperatures and charging & recharging time. Currently my setup is not yet working as I want it to (to run 24/7 autonomous with solar energy). So here some information what I have found out.
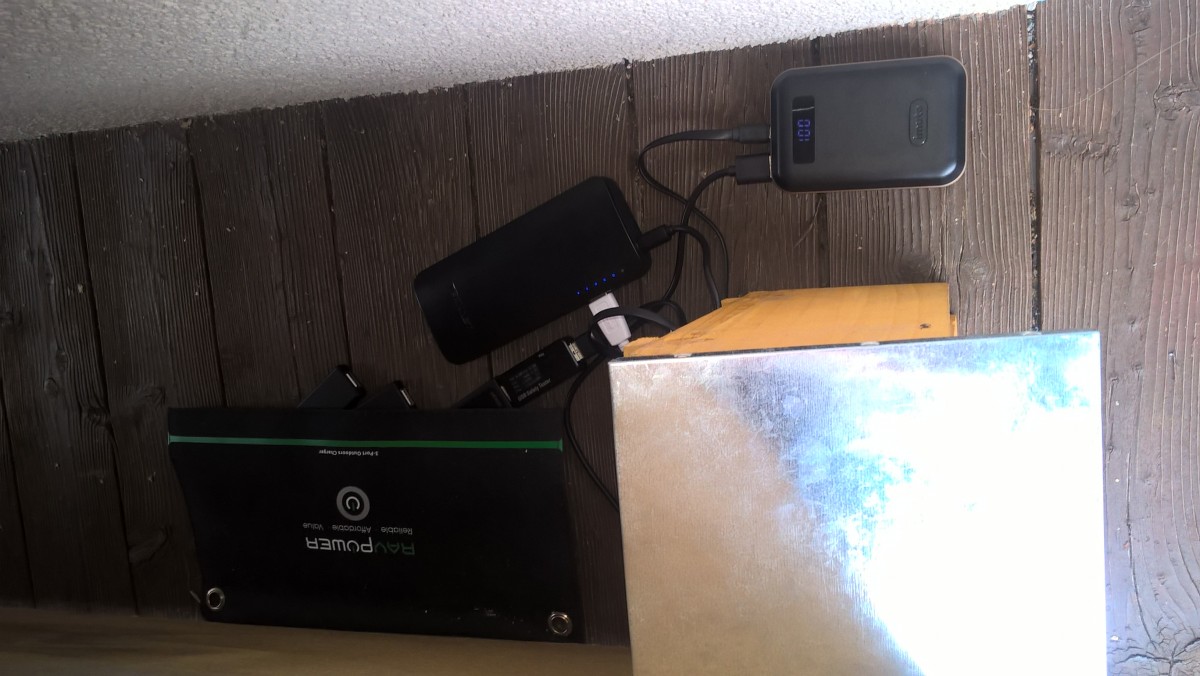
Powerbanks
There are quite a few powerbanks out there which can charge and recharge at the same time. But there is one problem on most of them the voltage drops when charged & recharged at the same time below 5V so the Raspberry Pi doesn’t work anymore. The only powerbank I have successfully tested is the TeckNet PowerZen P3. Here the links to the different Amazon Shops where you can get it.
USB Multimeter
This USB Multimeter helped me a lot to find out about voltage, current etc. I would really recommend you getting one. You can find it here again on Amazon:
- US: Fishonly Digital Multimeter USB Power Meter Tester
- UK: Muker J7 USB Multimeter
- DE: Muker J7 USB Multimeter
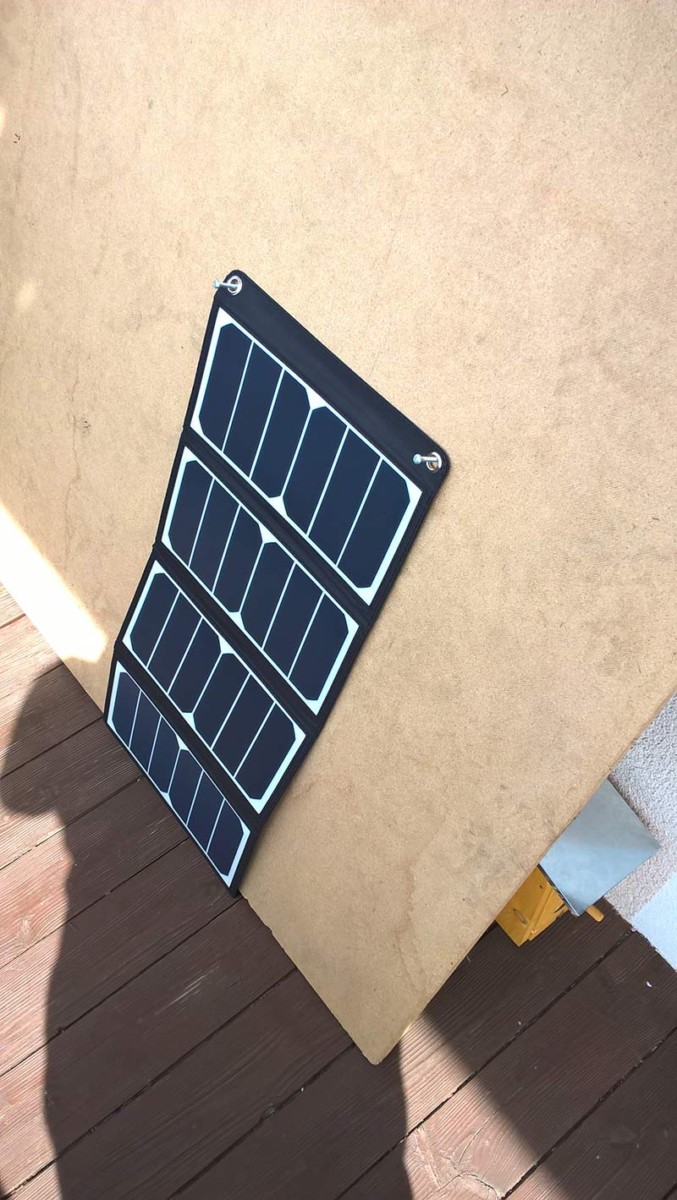
Phovotoltaic
I am using following foldable (its all about mobility 🙂 ) Solar Charging Panel. I tested it outside and it did withstand snow & rain for a few days. It has 3 USB Ports. For this project I only need 2 ports . BTW this pannel has in the UK & Germany great reviews, just in the US there is a bad review. You can get it also here on Amazon:
- US: Solar Charger RAVPower 24W Solar Pannel
- UK: RAVPower UK RP-PC005(B) 24W Smart IC
- DE: RAVPower 24W Solarladegerät
Summary: This week I should receive a second TeckNet Powerbank and I will then test 2 TeckNet Powerbanks hooked up and connected with a split cable to the Pi. Hopefully it will regarche enough to keep running for 24/7 usage. Fingers crossed.